
Pulumi - Automation Api - over Http hosted using the Azure Container Apps
Its been a long time, since I posted here (but good to be back here). Recently I started exploring Pulumi for Azure and came across this Automation API and would like to share how we can setup this in a container to host it as an endpoint.
Pulumi Automation API is a SDK layer exposes Pulumi Infrastructure as a code to be used without the Pulumi CLI. More details around the Pulumi automation can be found here. In this post, We will see how we can host the Pulumi Automation API as a service on a Azure container apps.
The below steps, takes us through the setup required to host an endpoint to create a storage account in the Azure using the Pulumi Automation API.
Create a new Docker based API project
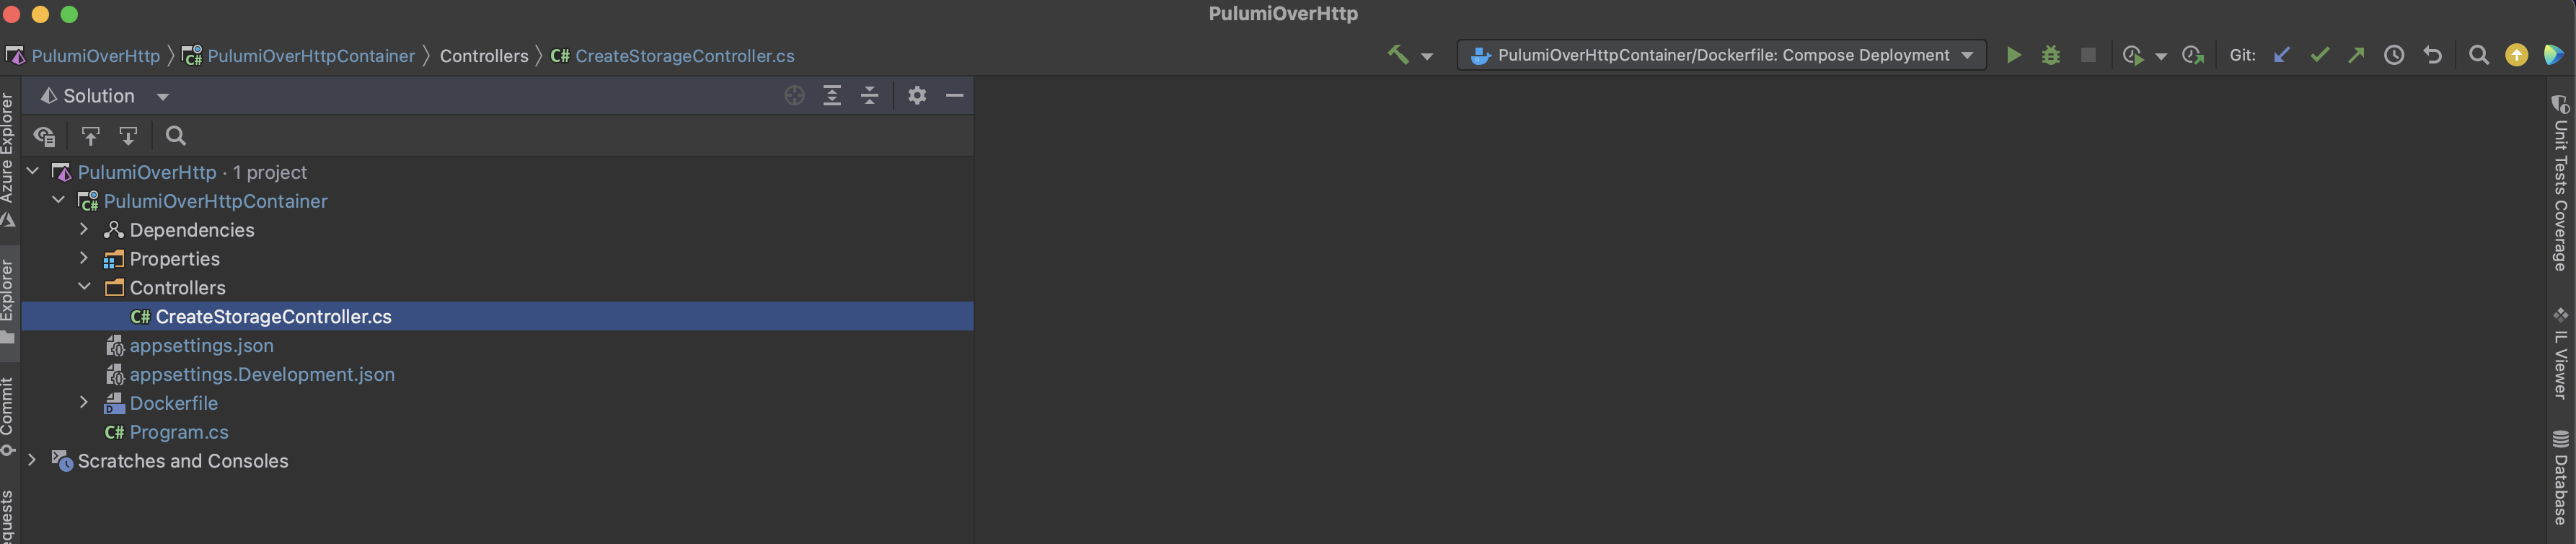
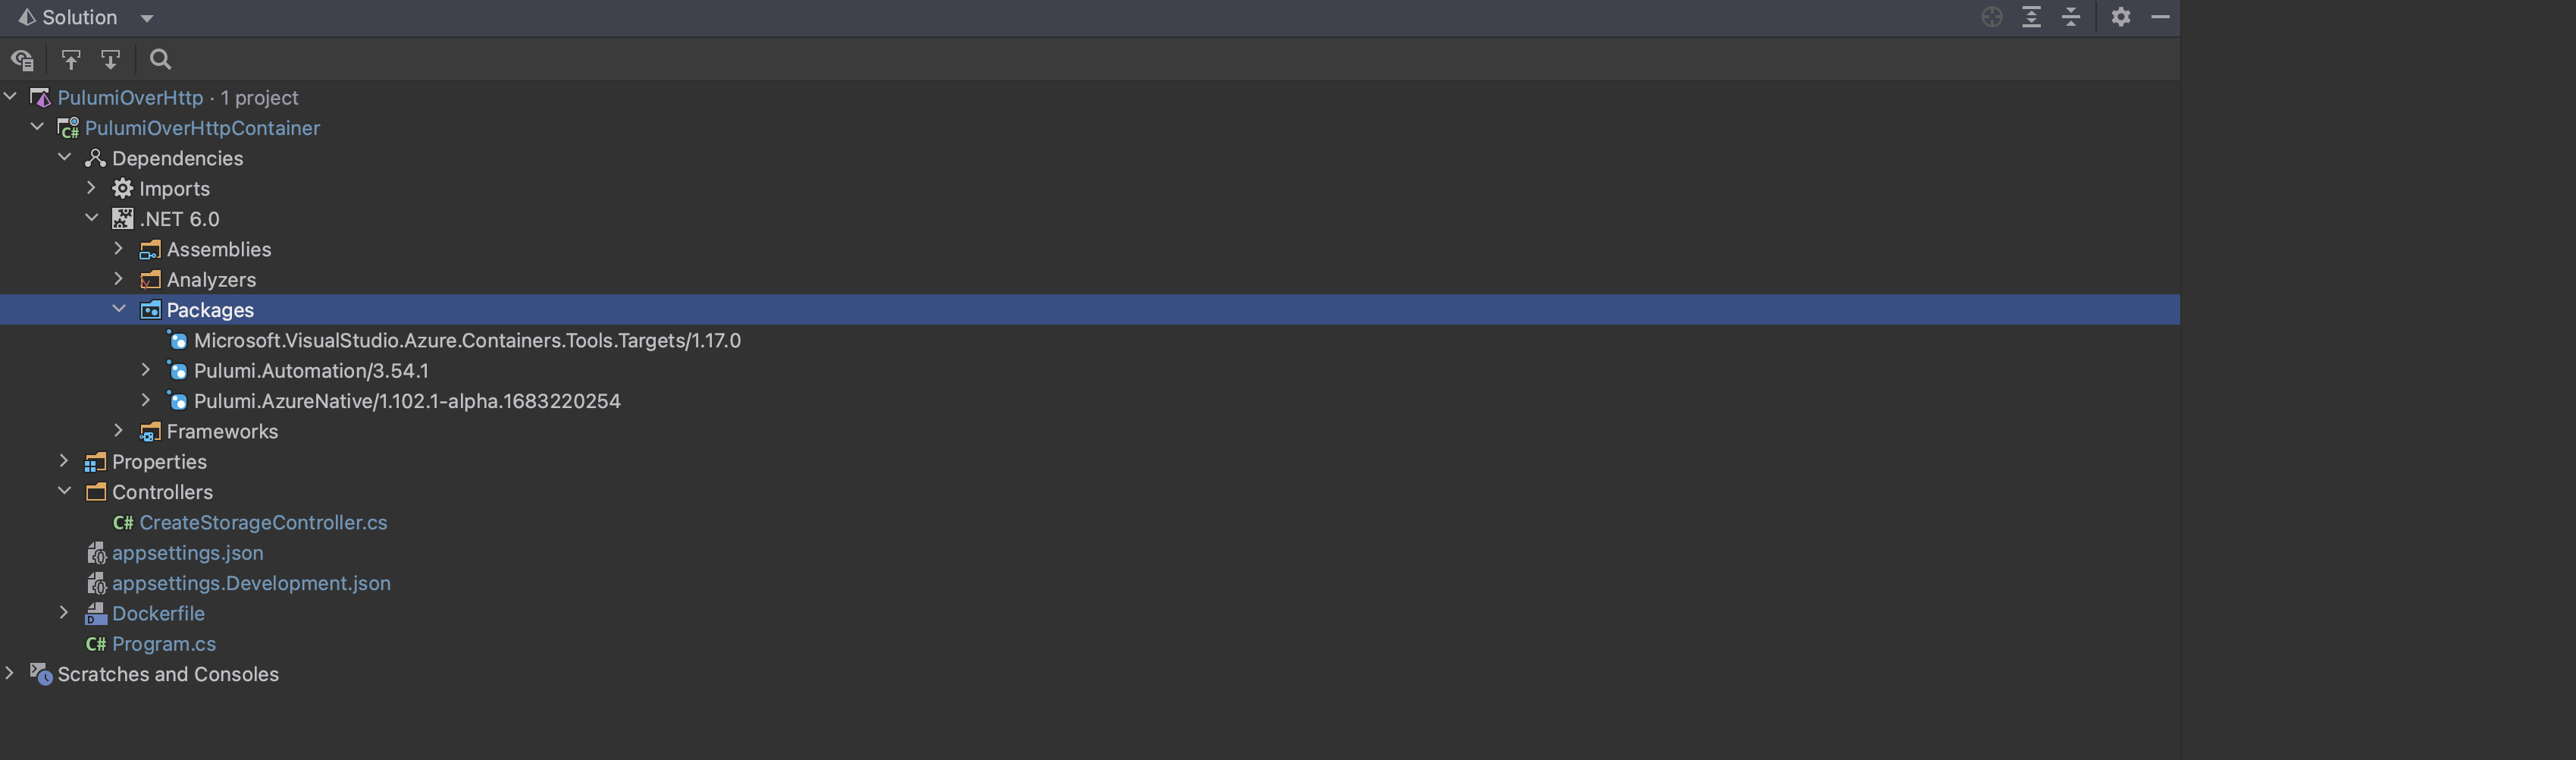
Include Pulumi Automation and Pulumi Native package to the project
Create an endpoint to create an Azure storage account
[HttpGet]
public async Task<IActionResult> Get(string stackName, string resourceGroupName, string storageAccountName)
{
}
Use Pulumi Automation API to provision the storage account
Initialise the Pulumi Local Workspace as below to provision the storage account based on the parameters passed to the endpoint.
1 . Initialise the Pulumi local function using the Azure Native API to provision the resource group and a storage account.
...
var program = PulumiFn.Create(() =>
{
    var resourceGroup = new Resources.ResourceGroup(resourceGroupName, new Resources.ResourceGroupArgs
    {
        Tags = { { "Environment", "production" } }
    });

    var storageAccount = new Storage.StorageAccount(storageAccountName, new Storage.StorageAccountArgs
    {
        Kind = Storage.Kind.StorageV2,
        ResourceGroupName = resourceGroup.Name,
        Sku = new Storage.Inputs.SkuArgs
        {
            Name = Storage.SkuName.Standard_LRS,
        },
    });
});
...
2 . Setup the Pulumi Localworkspace
...
var stackArgs = new CInlineProgramArgs(_env, "PulumiOverHttpContainer", stackName, program);

var stack = await LocalWorkspace.CreateOrSelectStackAsync(stackArgs);
...
Note: CInlineProgramArgs is a custom class used to set the container application path required for Pulumi program to execute at the time of provisioning the resources.
3 . Install the Azure Native plugin The latest version of azure-native plugin at the time of writing this post is v1.102.0 and the details can be found here.
...
await stack.Workspace.InstallPluginAsync("azure-native", "v1.102.0");
...
4 . Set the config
Setup the Pulumi stack to use a Azure Application registration, to provision the resources in the specified subscription and region.
...
await stack.SetConfigAsync("azure-native:clientId", new ConfigValue("<<client_id>>"));
await stack.SetConfigAsync("azure-native:clientSecret", new ConfigValue("<<client_secret>>", true));
await stack.SetConfigAsync("azure-native:tenantId", new ConfigValue("<<tenant_id>>"));
await stack.SetConfigAsync("azure-native:subscriptionId", new ConfigValue("<<subscription_id>>"));
await stack.SetConfigAsync("azure-native:location", new ConfigValue("<<region>>"));
5 . Refresh and Update the Stack
Refresh the stack state and Pulumi up to provision the resources.
...
await stack.RefreshAsync(new RefreshOptions { OnStandardOutput = Console.WriteLine });
var result = await stack.UpAsync(new UpOptions { OnStandardOutput = Console.WriteLine });
...
Use Pulumi Automation API to provision the storage account
So, we have the endpoint ready to provision the storage account. Now let’s setup the Pulumi state using the Docker so that we can deploy it as a containerised app. The below docker code uses the Azure storage account to manage the state.
FROM mcr.microsoft.com/dotnet/aspnet:6.0 AS base
WORKDIR /app
EXPOSE 57000:80
EXPOSE 443
ENV PATH "$PATH:/root/.pulumi/bin"
ENV AZURE_STORAGE_ACCOUNT "<<storage account name to manage the state>>"
ENV AZURE_STORAGE_SAS_TOKEN "<<storage sas token>>"
ENV PULUMI_CONFIG_PASSPHRASE "<<pulumi config passphrase>>"


RUN apt-get update && \
      apt-get -y install sudo && \
      apt-get -y install curl && \
      curl -fsSL https://get.pulumi.com | sh && \
      pulumi login azblob://<<storage_container_name>>

FROM mcr.microsoft.com/dotnet/sdk:6.0 AS build
WORKDIR /src
COPY ["PulumiOverHttpContainer/PulumiOverHttpContainer.csproj", "PulumiOverHttpContainer/"]
RUN dotnet restore "PulumiOverHttpContainer/PulumiOverHttpContainer.csproj"
COPY . .
WORKDIR "/src/PulumiOverHttpContainer"
RUN dotnet build "PulumiOverHttpContainer.csproj" -c Release -o /app/build

FROM build AS publish
RUN dotnet publish "PulumiOverHttpContainer.csproj" -c Release -o /app/publish /p:UseAppHost=false

FROM base AS final
WORKDIR /app
COPY --from=publish /app/publish .
ENTRYPOINT ["dotnet", "PulumiOverHttpContainer.dll"]
Use Pulumi Automation API to provision the storage account
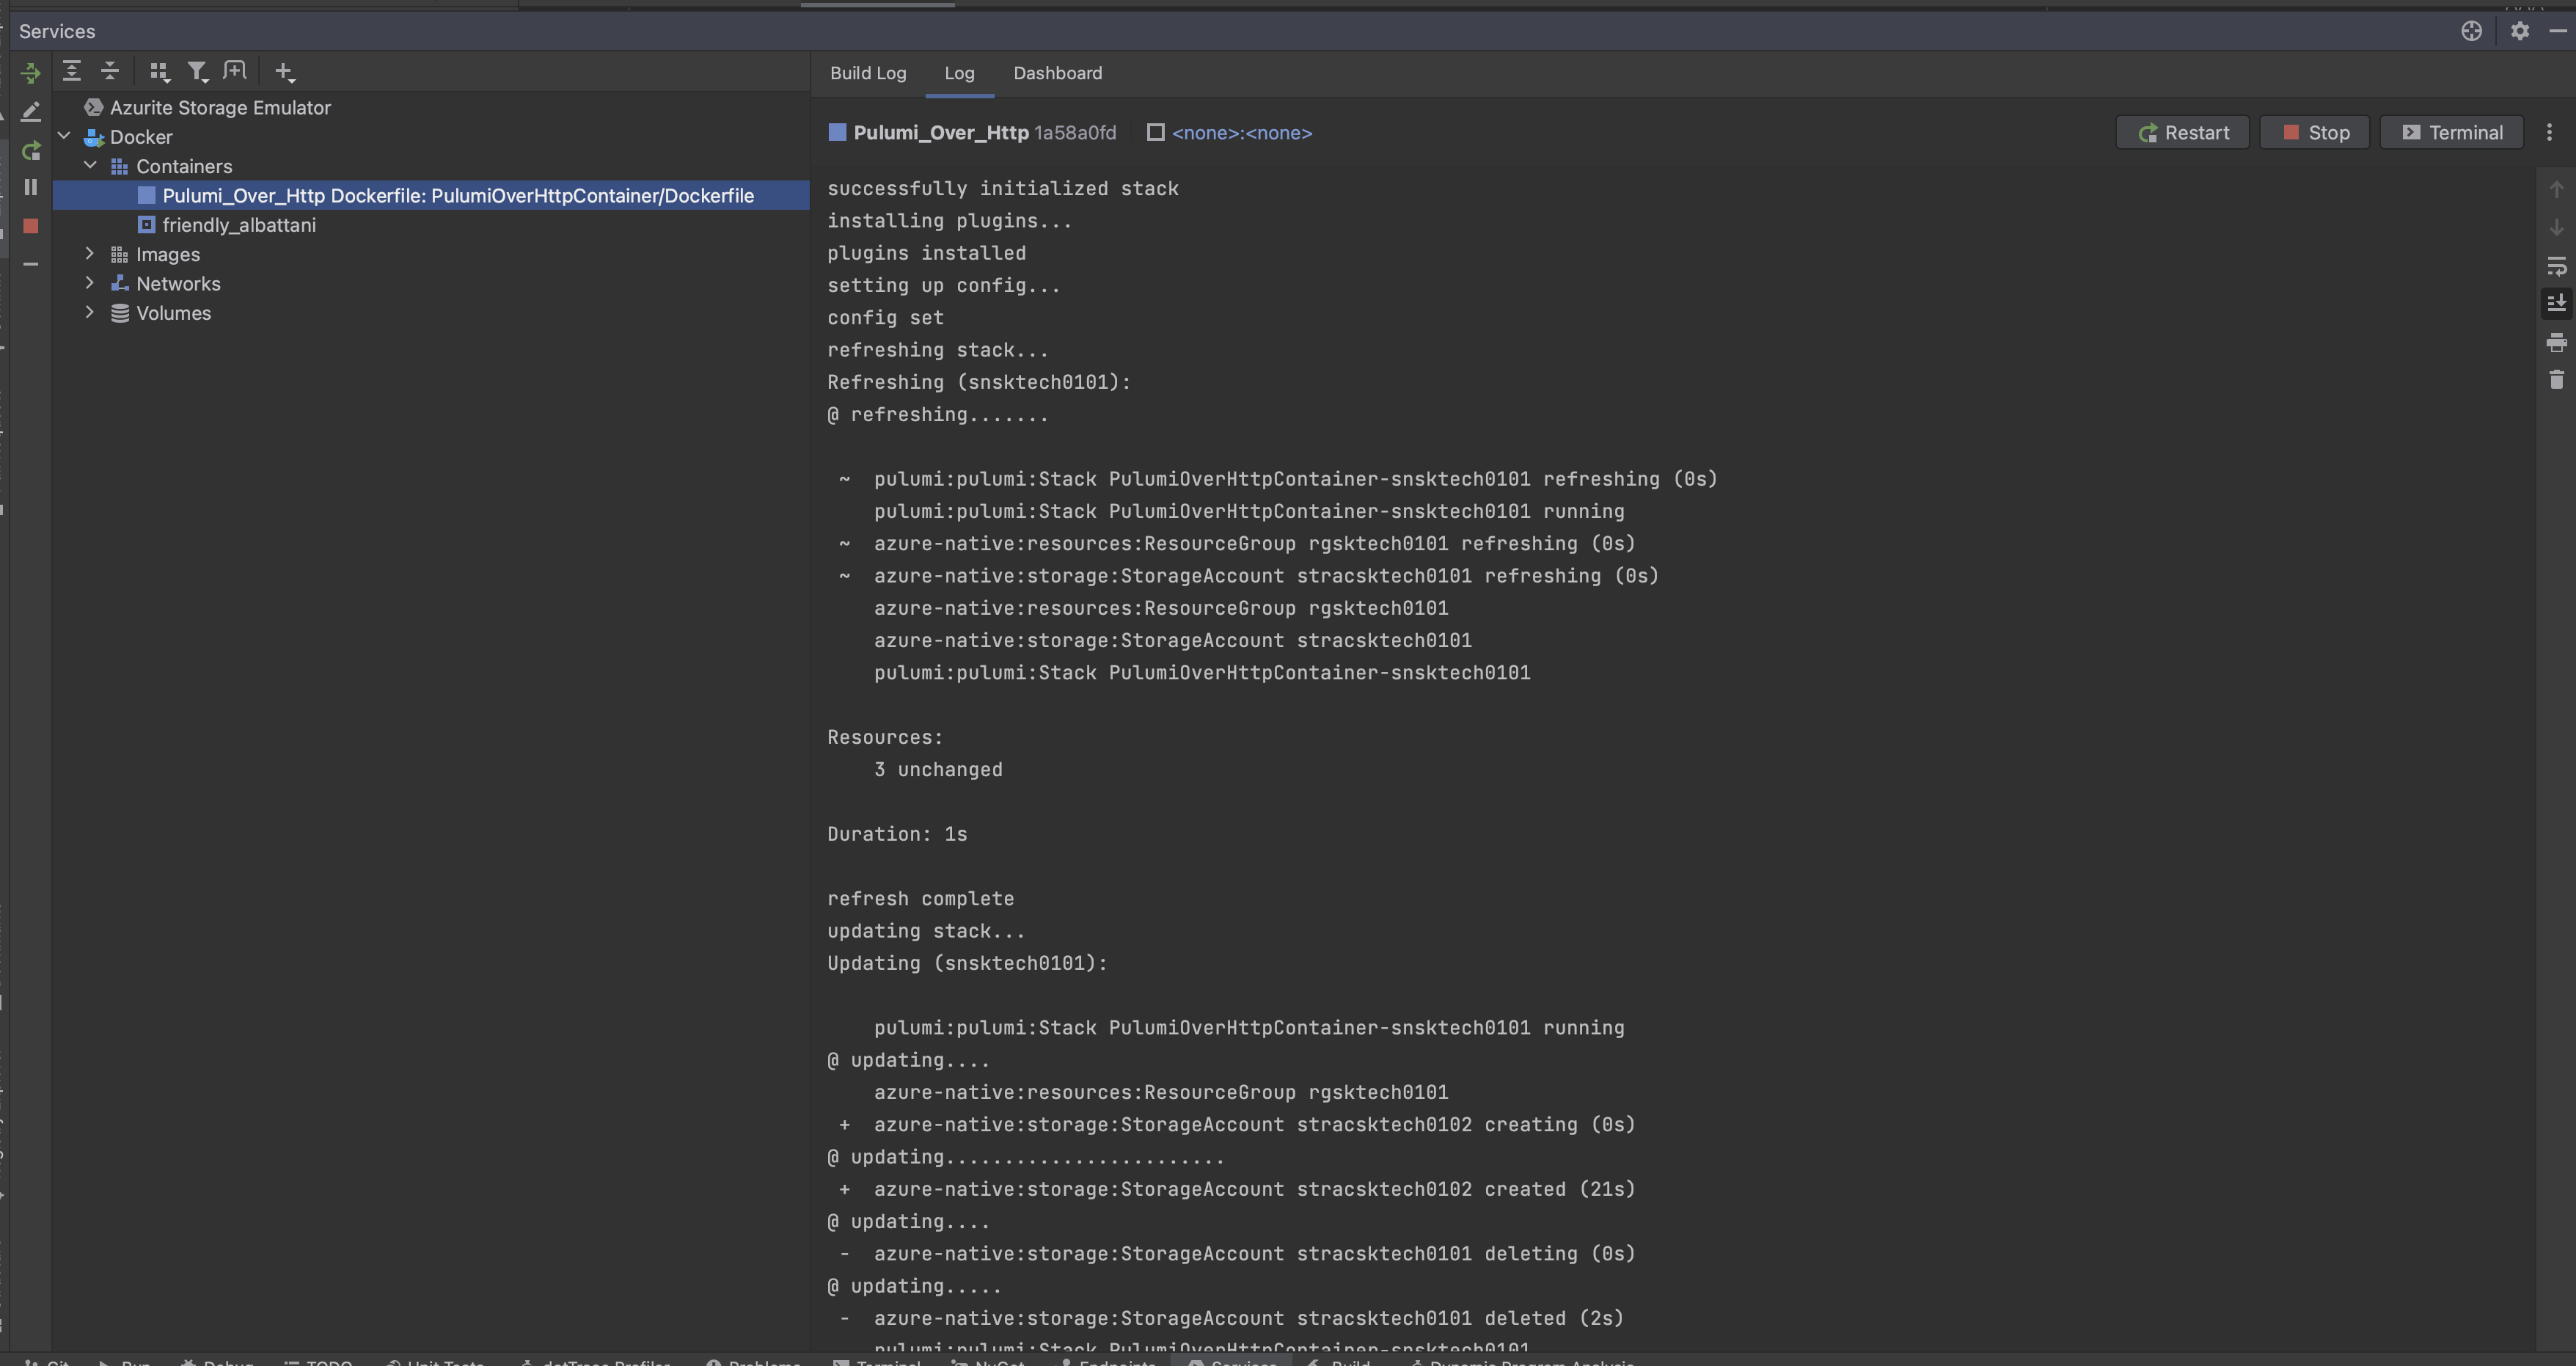
So we got all the setup ready and lets test locally by invoking the endpoint with the required parameters.
http://0.0.0.0:4001/createstorage?resourceGroupName=rgsktech0101&stackName=snsktech0101&storageAccountName=stracsktech0102
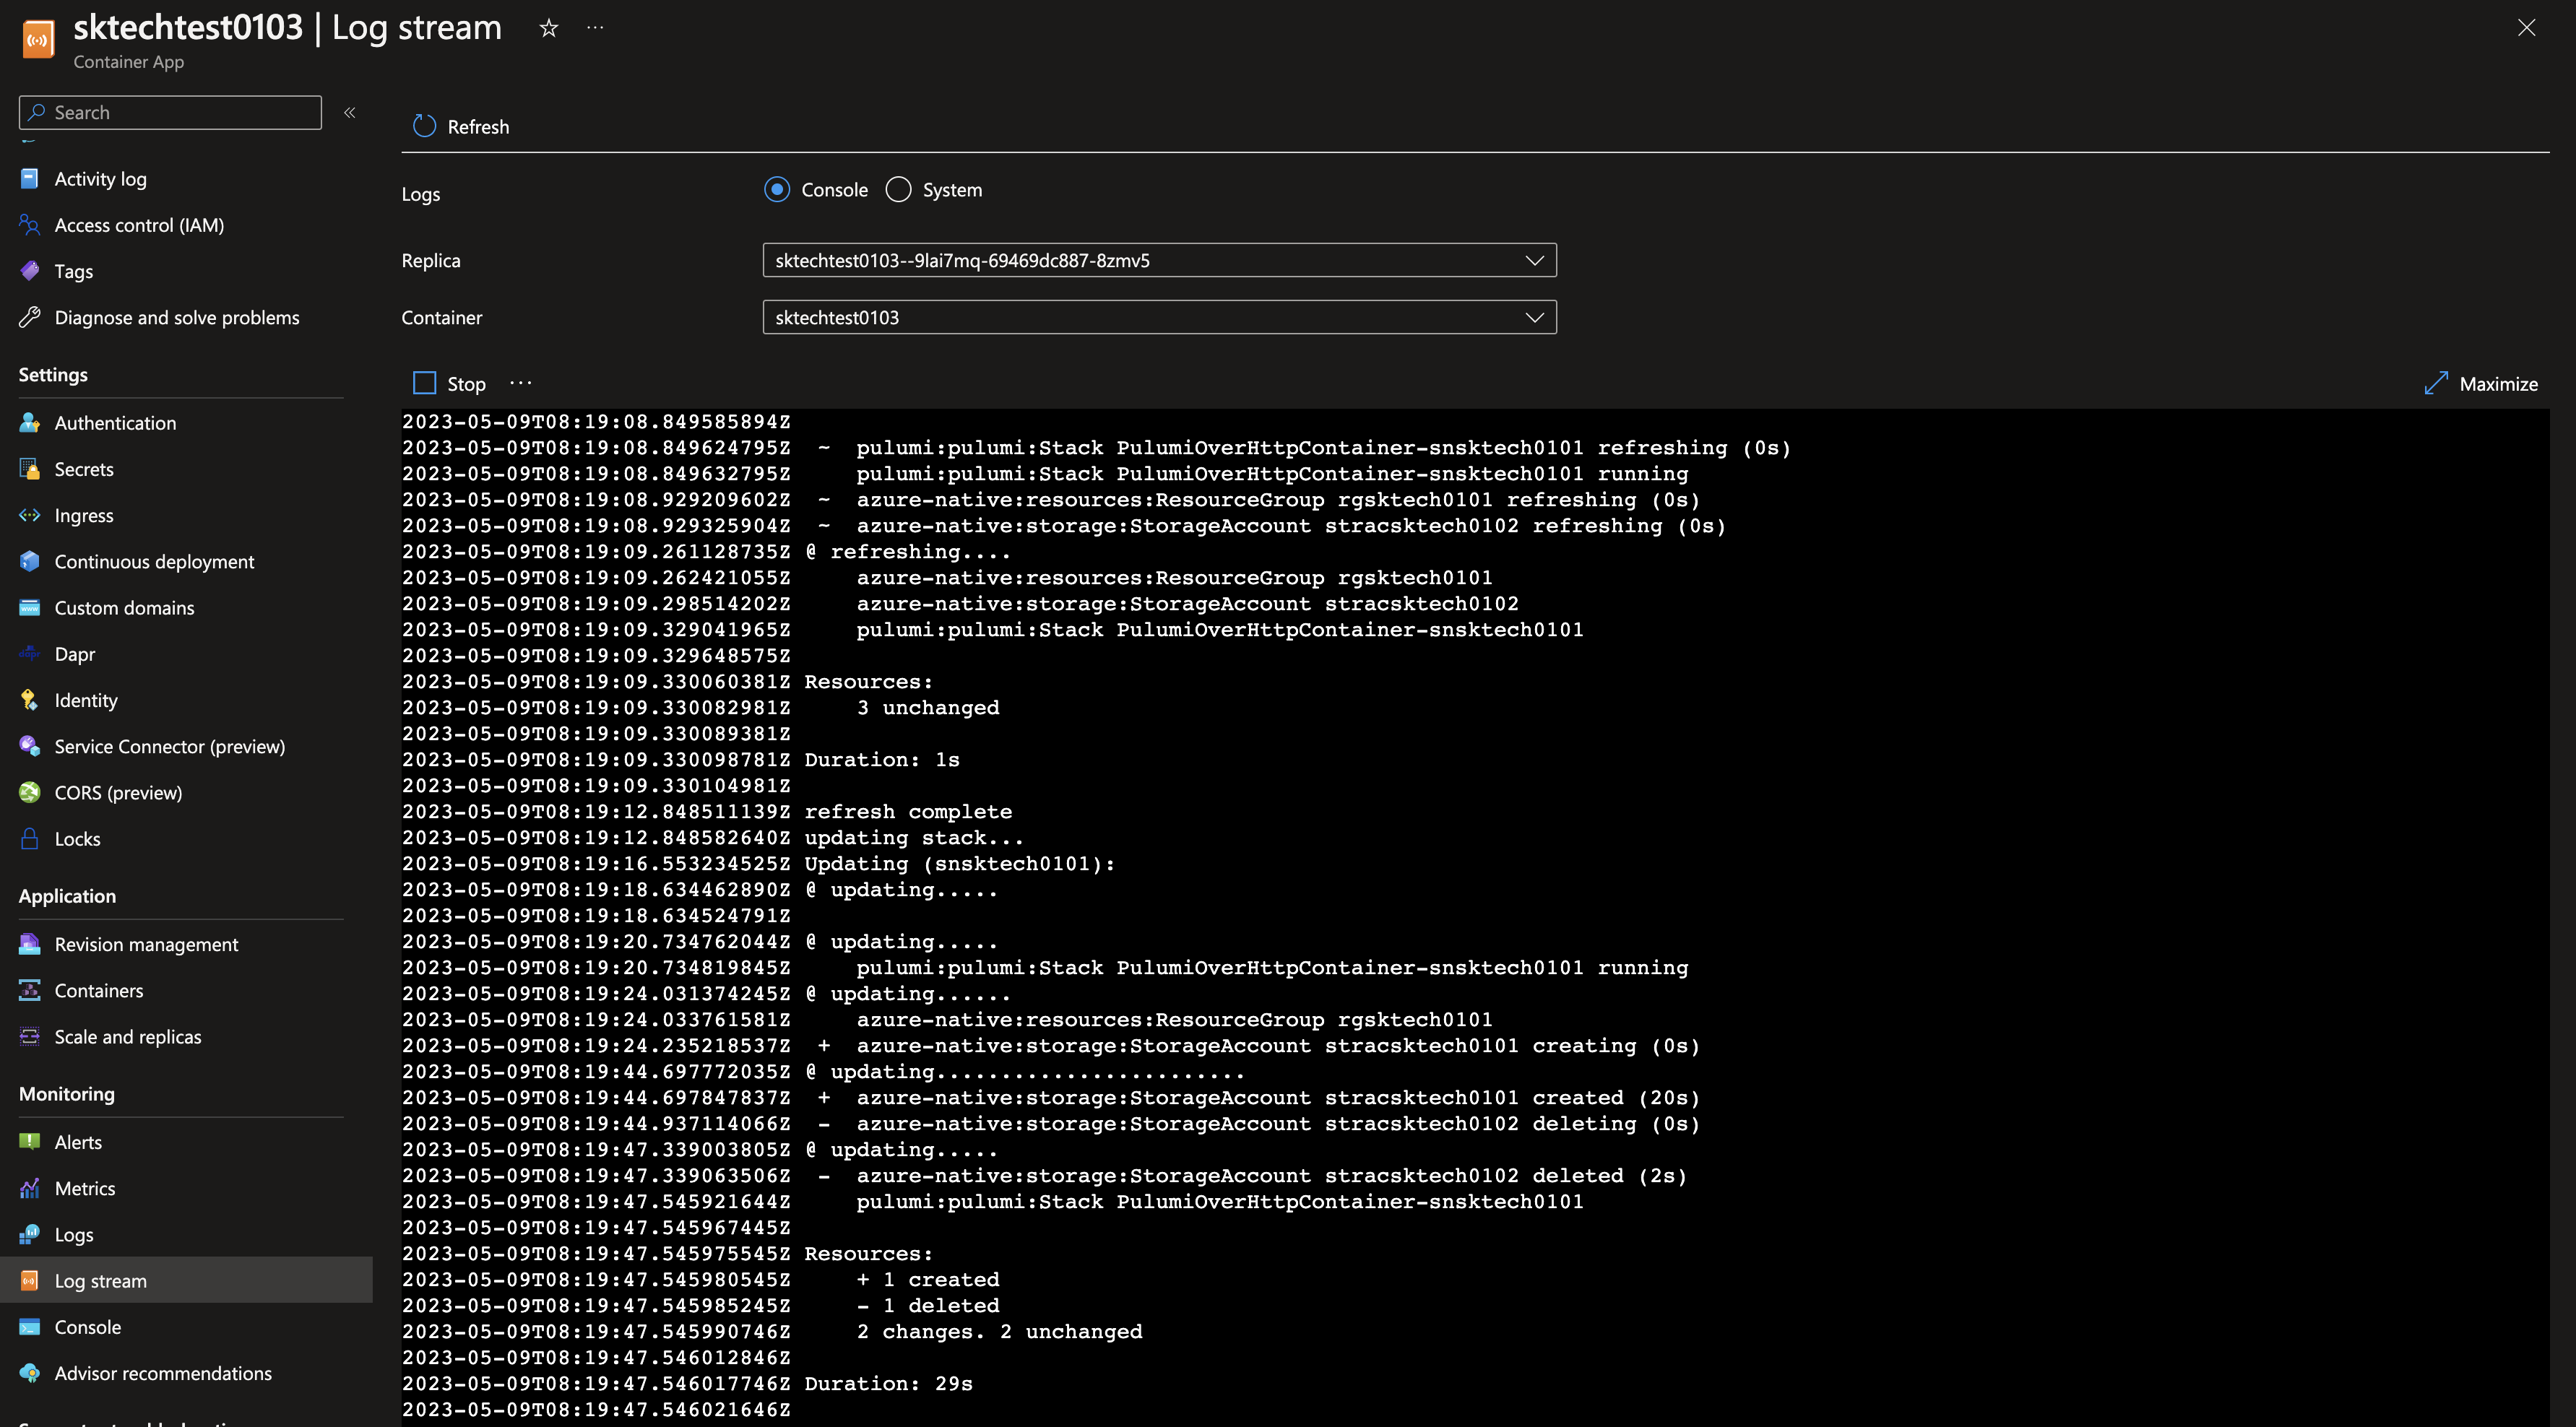
Deploy the image to the Azure Container apps
1 . Deploy the image to the container registry
docker login sktechreg0101.azurecr.io -u <<user>> -p <<password>>
docker build . -f ./PulumiOverHttpContainer/Dockerfile -t sktechreg0101.azurecr.io/pulumioverhttp
docker push  sktechreg0101.azurecr.io/pulumioverhttp
2 . Call the Endpoint https://containerurl.io/createstorage?resourceGroupName=rgsktech0101&stackName=snsktech0101&storageAccountName=stracsktech0101
Reference:
a. Pulumi Automation API examples
b. Sample code for the above